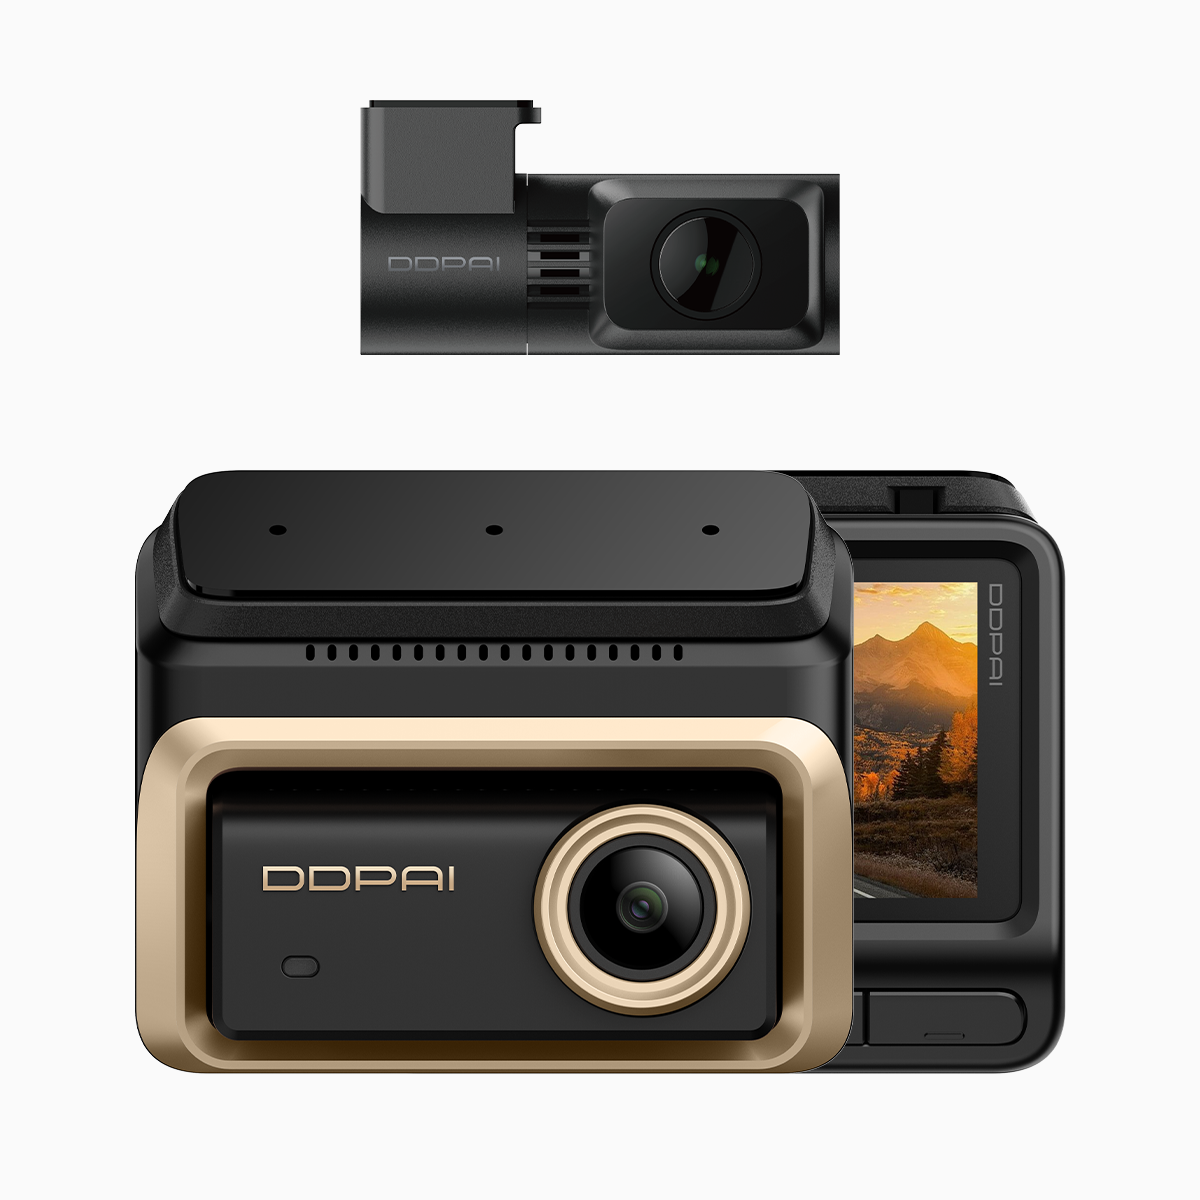


Start with the driver — and the product that performs
Think like an athlete prepping for a big run: you want gear that stays put when the heat and sweat hit. Filipino drivers demand the same from their dash cams. A reliable 3 channel dash cam needs clean adhesion, steady field of view and rock-solid image resolution every day, whatever the humidity. This user-first piece digs into why electrostatic stickers often outlast suction cups, how to install them right, and how a triple-camera setup changes what you test before you hit the road.
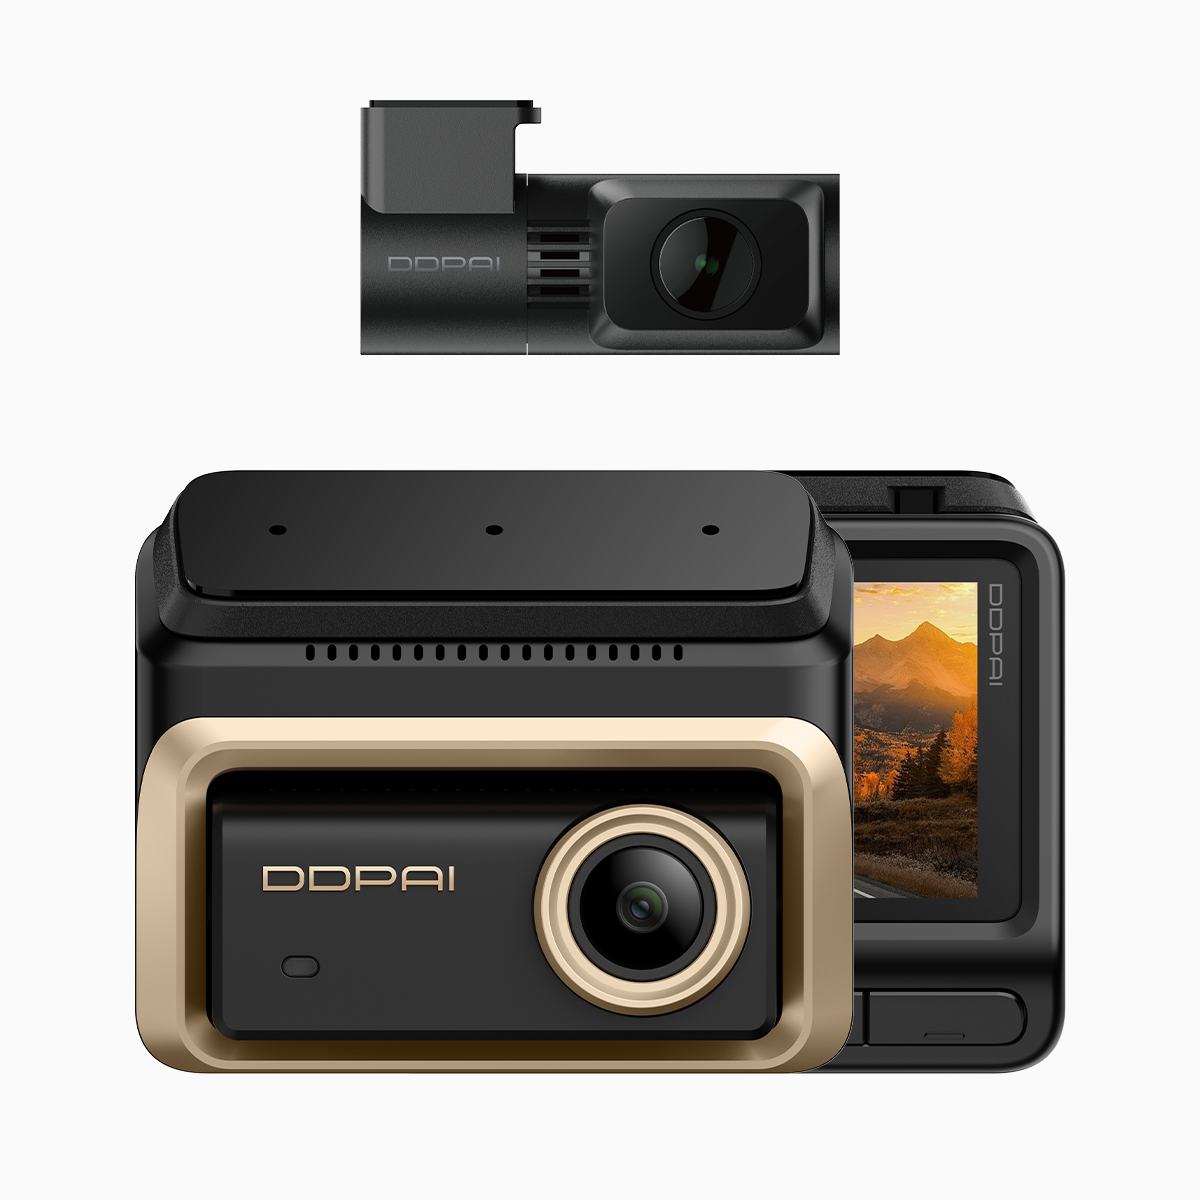
Humidity hits first — local reality and what it breaks
Manila and other Philippine cities commonly register high relative humidity year-round, and rainy seasons push that higher. That moisture attacks weak mounts, fogs lens coatings and loosens adhesive bonds. Drivers notice drift in camera alignment and false triggers from the G-sensor during vibration. If your mounting bracket slides just a few millimeters, your parking mode footage loses context — and that matters when you need evidence. This is the real-world anchor: tropical humidity alters adhesion behavior more than cold weather does.
How electrostatic stickers actually hold — practical mechanics
Electrostatic stickers use surface attraction, not glue. They form a uniform contact that spreads load across the sticker, reducing peel at edges. For dash cams, that means a steady angle and consistent field of view (FOV) without residue on the windshield. Test sensor calibration after mounting to ensure the horizon line is true. If you pair the sticker with a rigid mounting bracket, you keep vibration low and preserve resolution during bumpy commutes.
Step-by-step installation that survives humidity
Follow a routine. Clean the glass with isopropyl wipe, dry completely, then press the sticker firmly for 30 seconds. Mount the camera so the lens points where you drive — slightly above the dashboard centerline for balanced coverage. Tighten any adjustable arms to prevent sag. Update firmware after installation so features like parking mode and event recording sync with your G-sensor settings. Maintain the lens coating by wiping it weekly; small chores prevent big recording failures.
Common mistakes and sensible alternatives
Avoid these traps: placing the sticker on a curved glass patch, skipping surface prep, and relying solely on adhesive pads in humid months. Suction cups perform poorly as seals degrade; permanent adhesive can damage glass and still fail if installed on dirt. A hybrid approach — electrostatic sticker plus compact bracket — gives the best balance between removability and steady mounting. Triple-camera setups shift priorities: you must check rear and interior angles as well as the front lens to keep continuity across streams.

What to check before you trust your footage
Run this quick checklist: confirm stable FOV across bumps, verify sensor calibration, and test parking mode triggers after a simulated event. Also inspect for micro-movement after an overnight high-humidity period. Small shifts compound over weeks — so retest monthly. Keep firmware current; vendors often optimize event thresholds and image processing that help footage remain usable despite glare or condensation — and yes, you’ll notice the difference.
Golden rules for selecting and evaluating gear
Three metrics to lock into when you judge mounts and cameras: adhesion retention under sustained humidity (measure after 72 hours), FOV stability across real-road vibration (check alignment before and after a 10-km drive), and vendor support including firmware updates and clear guidance on sensor calibration. These metrics give you measurable expectations and make comparisons honest. Choose gear that passes them — and you’ll reduce loose mounts, ruined clips, and wasted time.
DDPAI Philippines fits the profile for drivers who want dependable triple-camera solutions with solid mounting advice and timely firmware support — and that’s why it often shows up in practical installs. —