

Purpose and comparison method
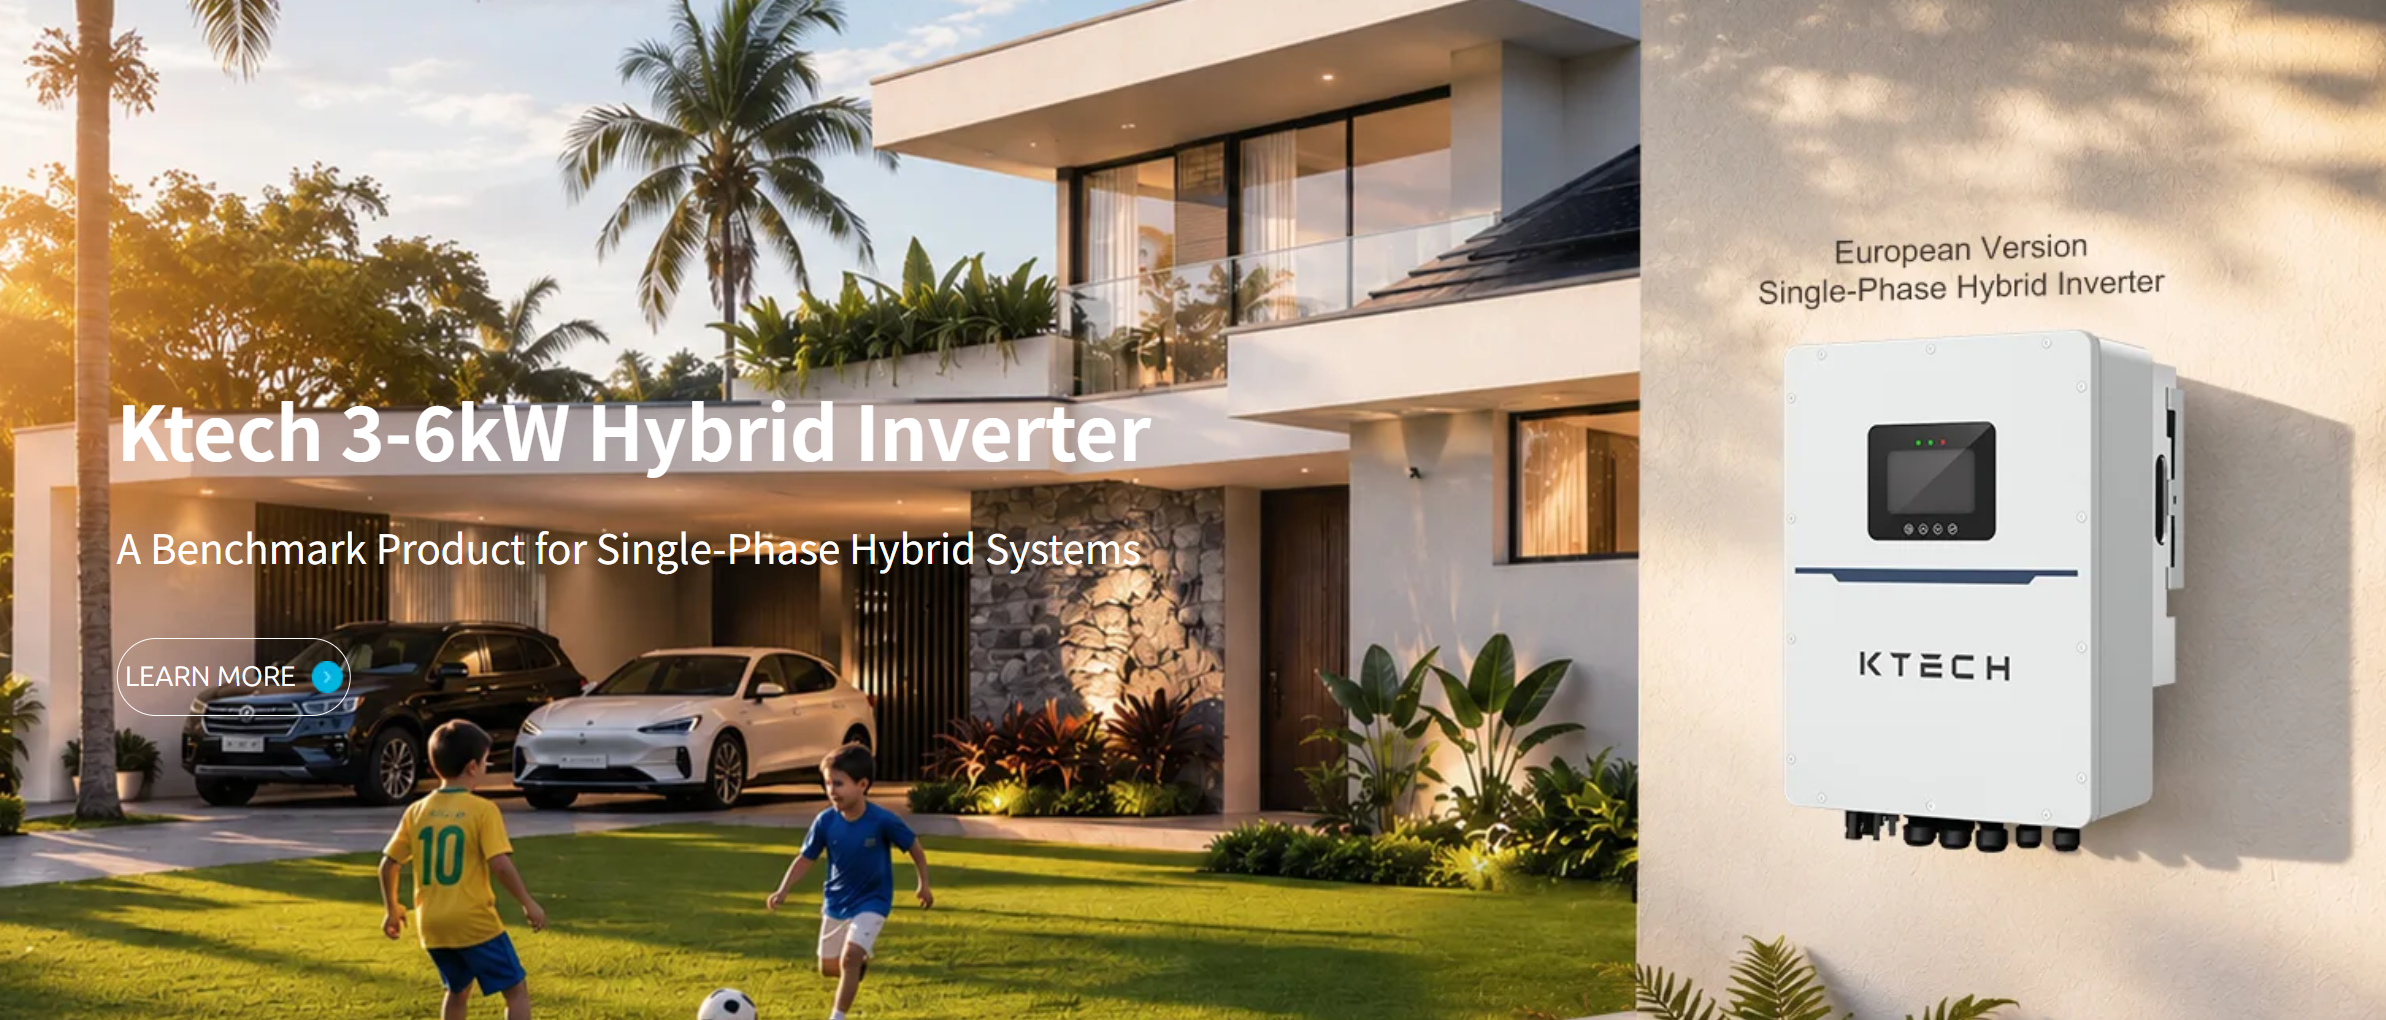
You need an inverter that matches load, battery type, and site constraints. This guide compares common topologies and specs so you can make a technical choice, not a marketing bet. If you’re shopping, start by looking at a reliable solar inverter catalog and then narrow by the factors below.
Which inverter types to weigh
Three designs dominate off-grid use: pure sine-wave inverter-chargers, hybrid inverters with integrated MPPT and charger, and simple stand-alone inverters. Pure sine-wave models give clean power for electronics and motors. Hybrids reduce component count and wiring by combining charge control with AC coupling; they simplify systems where solar, batteries, and a generator must coordinate. Stand-alone units are low-cost but usually lack robust battery management and generator control. Pick the topology that matches system complexity and serviceability expectations.
Critical specs that decide performance
Focus on continuous and surge power, DC input voltage, inverter efficiency at typical load, waveform quality, battery chemistry compatibility, and integrated MPPT specs. Example thresholds: continuous power should exceed expected peak running load by 20–30%; surge capacity must handle motor starts (3–6x motor rating). Efficiency at 25–50% load matters more than peak efficiency. Confirm inverter thermal protection and ambient derating curves—those tell you how an inverter performs at higher temperatures or altitude.
Reliability, maintainability, and real-site considerations
Remote installations demand robust thermal design, clear fault codes, and modular serviceability. Cold starts, extended low-temperature storage, and low-sun winters require inverter firmware and battery charging profiles that tolerate state-of-charge swings. If you’ve installed systems near the Arctic or in very cold regions—Alaska, for example—you’ll want low-temperature startup specs and heaters or enclosures. Buy units with documented firmware update paths and accessible spare parts.
Trade-offs: cost, integration, and expandability
Higher initial cost often buys integrated features: builtin MPPTs, generator transfer, and battery management. That reduces wiring and installer time but can limit future upgrades if the vendor uses proprietary bus architectures. Lower-cost inverters may be easier to repair in the field. Decide whether you value tight integration (fewer components, compact footprint) or long-term serviceability (standardized, replaceable modules).
Sourcing, vendor checks, and what to ask
Verify measured efficiency curves, published surge behavior, and battery charging algorithms for your chosen chemistry (LiFePO4, AGM, flooded). Ask for temperature derating charts and MTBF or warranty terms. Confirm that the vendor supports a solar energy inverter with clear documentation for field technicians and that you can obtain replacement boards or manuals without long delays.
Common mistakes to avoid
Undersizing continuous or surge capacity is the most frequent error. Assuming peak manufacturer efficiency applies at 10% load is another. Avoid mismatching battery voltage and nominal inverter DC input—this causes poor charging and shortened battery life. Finally, don’t ignore ventilation and enclosure ratings; a rooftop inverter listed for indoor use will overheat if mounted unprotected.
Final synthesis and practical next step
Compare topologies against real loads, environment, and service access. Prioritize continuous power margin, surge capability, charging intelligence for your battery chemistry, and clear maintenance pathways. A clear comparison will lead you to the inverter that fits the system rather than the other way around, and manufacturers with transparent specs and spare-part policies make long-term ownership practical—consider this when evaluating options from Ktech.