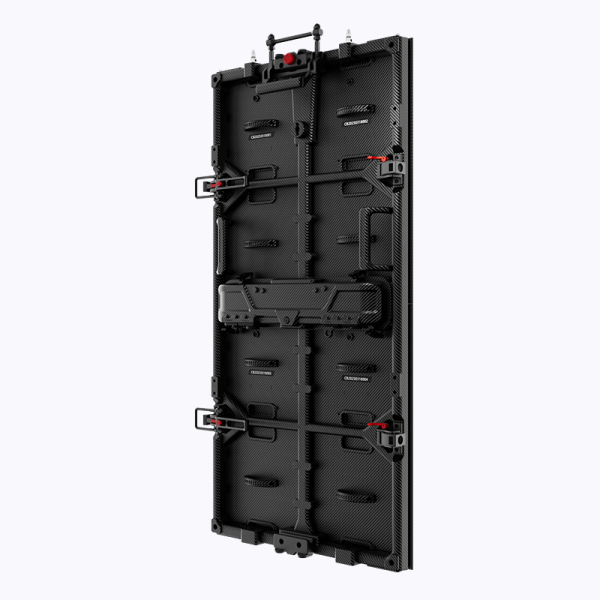


Straight to the Point: Buy, Rent, or Rent a Stage Wall
When you want big visuals fast, choices matter. A bought system ties up capital; a rented rig gives flexibility. For short runs or tours, led wall rental usually beats purchase on cost and setup time. This comparative insight lays out what changes the indoor led display screen price and where stadium displays differ from smaller stage solutions.
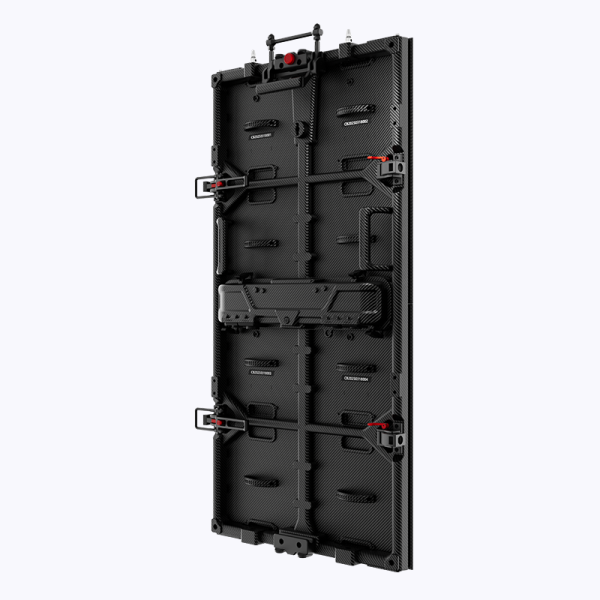
What Drives the Indoor LED Display Screen Price
Prices hinge on three concrete factors: pixel pitch, brightness in nits, and build quality. Pixel pitch controls clarity at a given viewing distance—tight pitch costs more. Higher nits matter for venues with ambient light. Cabinet design and modules affect durability and transport costs. Add-ons like control processors, backup power, and rigging gear raise the total. Practical note: a thicker cabinet and higher refresh rate usually mean heavier shipping and steeper labor fees.
Side-by-Side: Small Stage vs. Stadium Displays
Small stage walls prioritize portability and quick install; stadium displays scale for distance and weather resistance. Expect different cost profiles. Stadium-grade LED uses larger modules, reinforced cabinets, and often higher refresh rates to avoid flicker on large broadcasts—this pushes the price up. Indoor stage panels focus on finer pixel pitch and lighter cabinets, which lowers material but raises per-square-foot costs if you demand very fine resolution.
Real-World Anchor: Lessons from Big Shows
Think of the Super Bowl Halftime Show setup—massive visuals, tight timelines, and absolute reliability. Events like that prove one thing: rental fleets with tested panels and experienced crews reduce risk. For mid-size corporate activations or theater runs, a reputable led panel rental partner can deliver consistent brightness, calibrated color, and service windows without the capex strain.
Common Mistakes Teams Make
Teams often pick panels by price per square foot and forget viewing distance and ambient light. They underestimate rigging time and overbuy brightness for intimate venues. Another trap is ignoring refresh rate and controller compatibility—cheap gear can flicker on broadcast cameras or fail on complex pixel-mapped content. Plan for power distribution and service access; those costs show up last but bite hardest.
Comparative Checklist: What to Ask Suppliers
– What pixel pitch do you recommend for my viewing distance? (closer equals smaller pitch)
– What nits rating will we get under venue lighting?
– Are cabinets rated for repeated rigging and transport? What are the module replacement procedures?
– What is the expected install and teardown labor time and cost?
– Can you provide sample calibration and refresh-rate specs for broadcast compatibility?
Small interruption—these checks save money and headaches on day one.
How to Read Quotes and Avoid Hidden Costs
Break quotes into hardware, rigging, power, and labor. Confirm whether transport and insurance are included. Watch for one-time setup fees versus per-day charges. If the quote lumps “testing” into a general line item, ask for explicit test parameters: duration of burn-in (hours), calibration target (Delta E thresholds), and stress tests for modules. Those details matter when comparing two similar prices.
Final Advisory: Three Golden Rules
1) Match pixel pitch to audience distance first—clarity matters more than raw size. 2) Insist on documented brightness and refresh-rate figures; demand sample footage playback under venue lighting. 3) Count total landed cost: hardware, transport, crew, rigging, power, and contingency. These three metrics separate cheap-looking deals from reliable, repeatable outcomes.
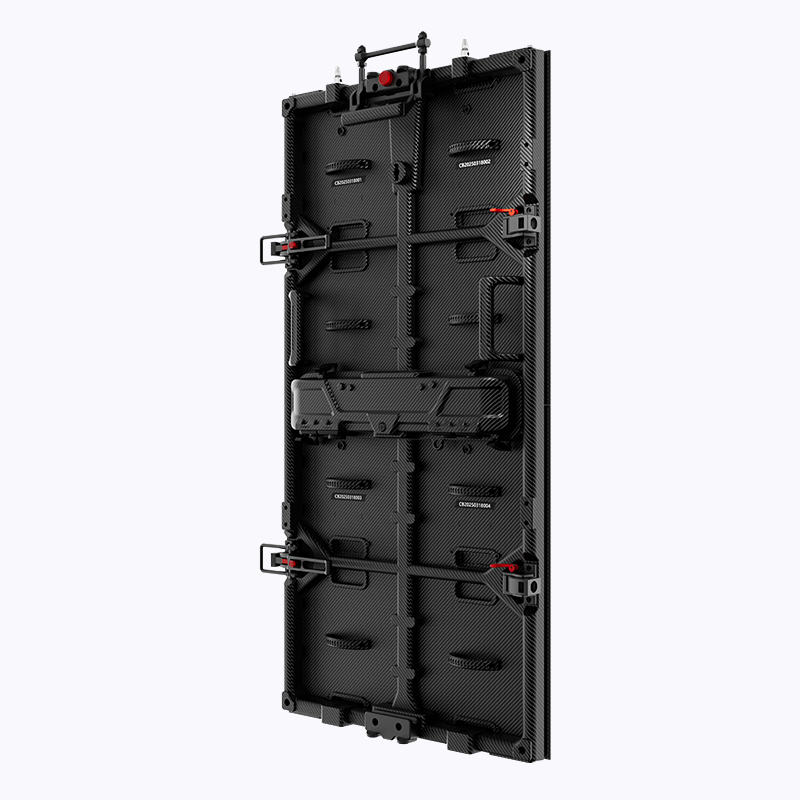
Coblinks ties practical pricing and vetted rental fleets into one resource for straightforward comparisons. —